
These Content Tips? Pure Gold.
Top Jewellery Photography Tips to Make Your Products Shine
Did you know my content career actually started by accident—with jewellery? It’s how I founded my business and built my reputation for a few years (and yes, I’ve got the jewellery collection to prove it! 😂).
Back then, I didn’t have big budgets or a fancy studio. I shot everything on a shoestring and discovered a few jewellery photography tips and product photography tricks that really worked—many of which I still use today.
Here is my top list of in-house tools to make your products sparkle, pop, and shine in front of the camera.
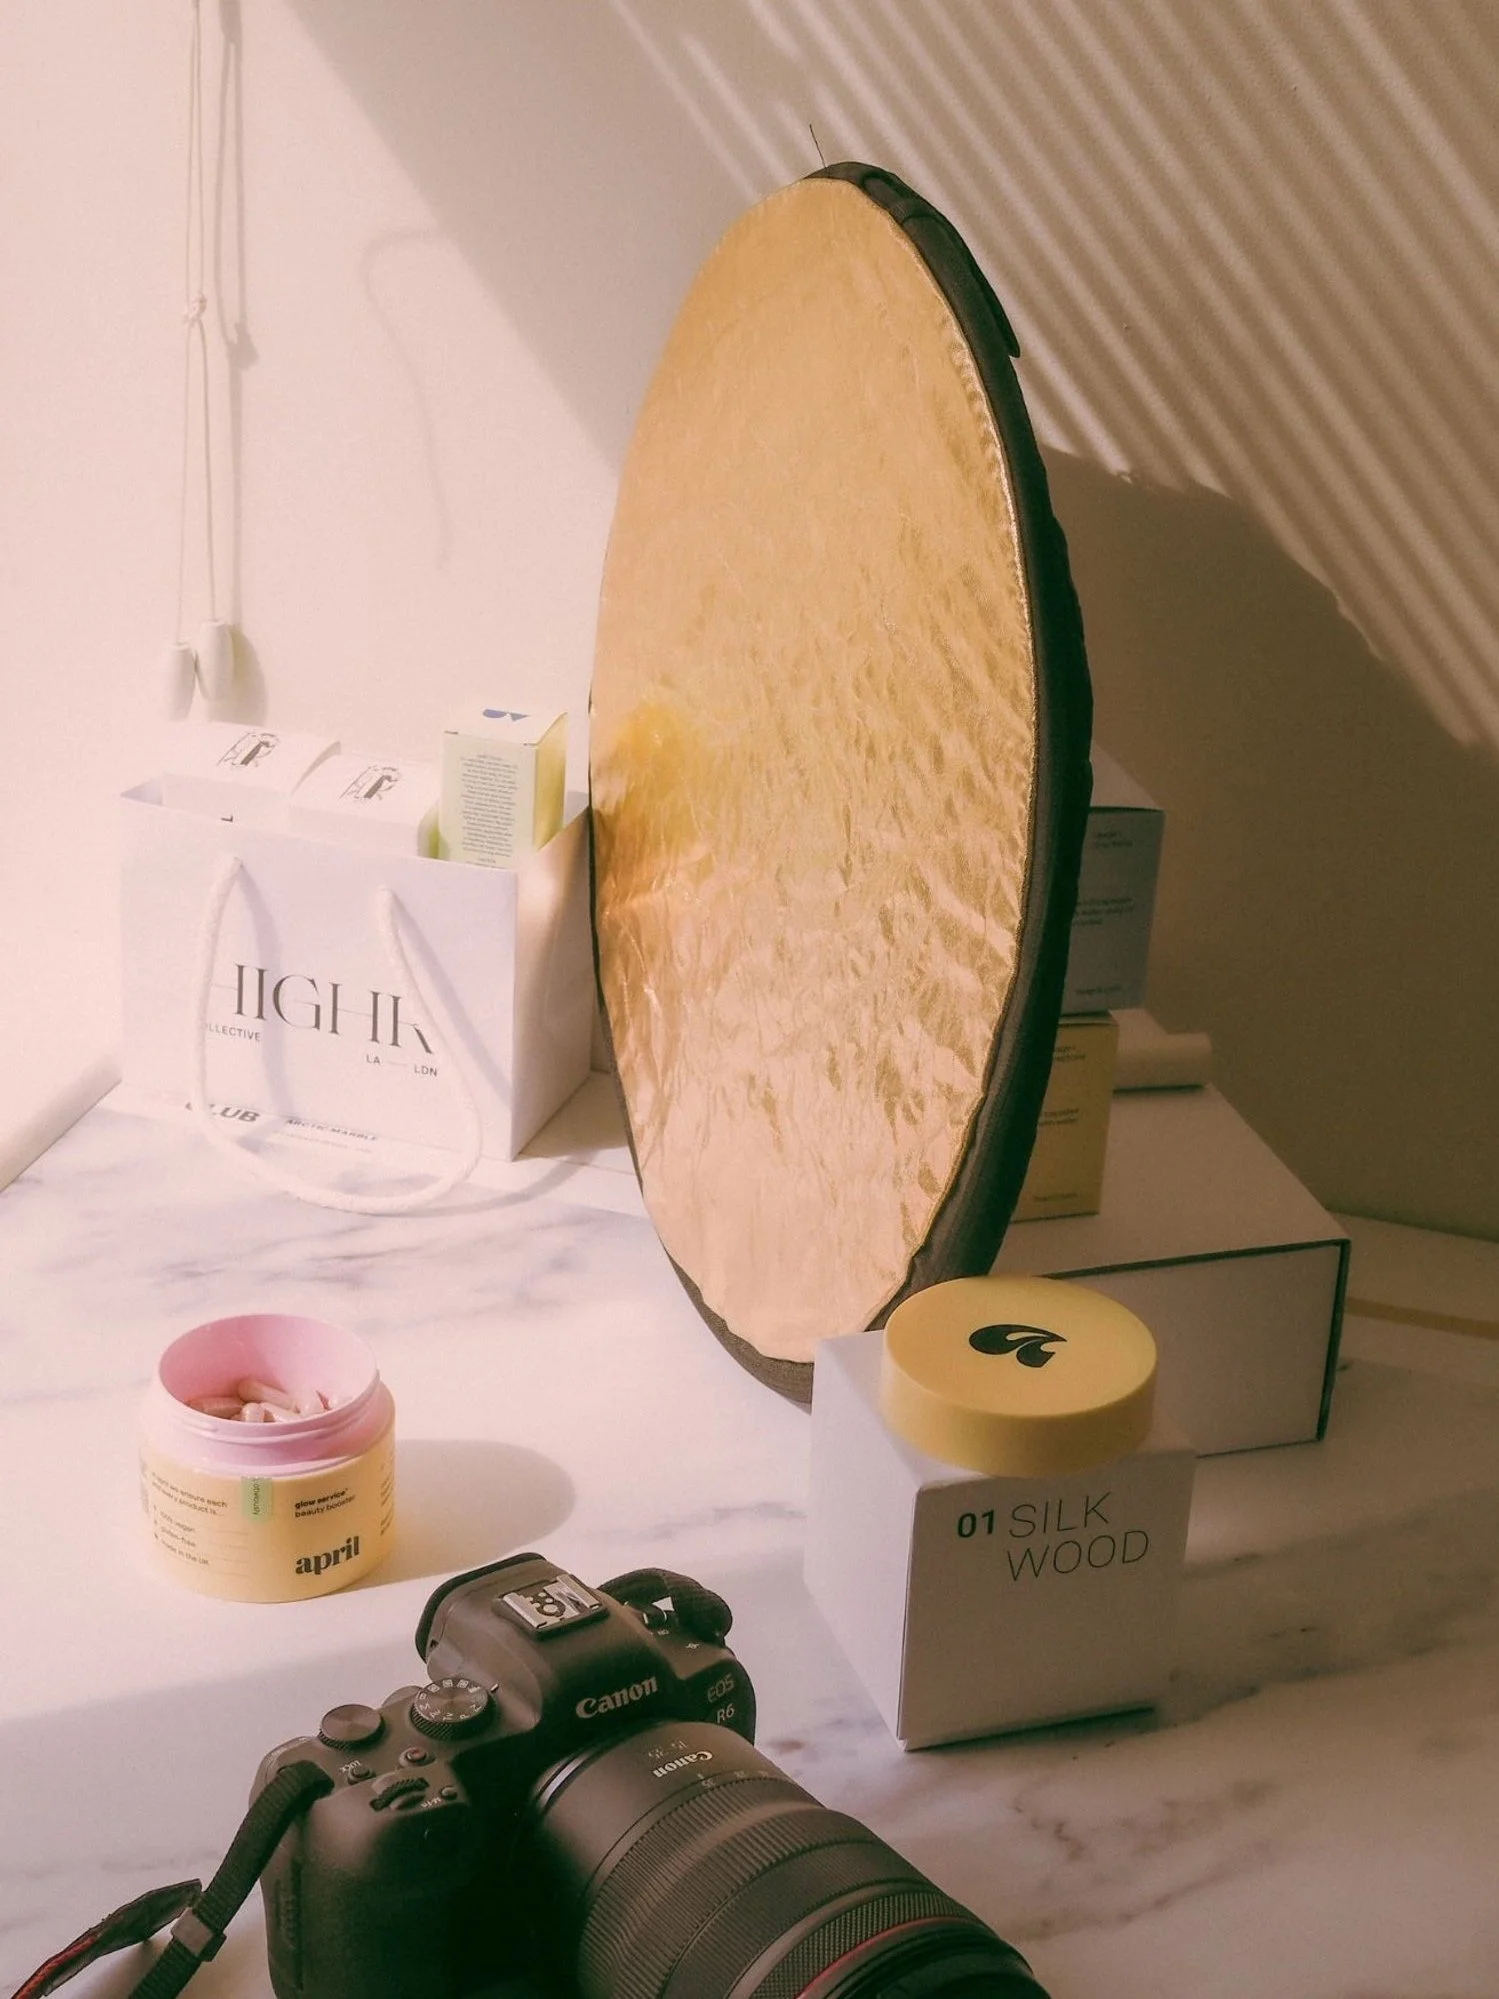
1. A 5-sided reflector.
It has both gold and silver foil sides, which are a secret weapon when shooting jewellery (or any reflective subjects). It acts like a HIGHLIGHTER to the subject, filling its reflections with light, bringing it to life and highlighting all the intricate details of the design. I have a tiny one that I use just for jewellery, and I’ve had this on every set with me for YEARS.
This image (below) was made on the same window using daylight and a small mirror. No fancy gear or lighting, just a reflector filling in those reflections and bouncing some of that daylight around. So simple!
2. Don’t skip the housekeeping.
I know this sounds beyond dull, but this is something I see getting overlooked a LOT, and is definitely something I missed myself for a long time. Polishing up your jewellery, cleaning your lens, and wearing cloth or latex gloves when prepping to avoid finger prints on jewellery, mirrors, and any other props —will literally add a polished edge to what you capture, and ultimately take any attention away from an errant smudge or smear, and keep the eye locked on to your beautiful product, as the hero of the shot. You can grab my full free guide on this here if you don’t already have it as part of the Clinic.
3. Up the Richness!
Whether you’re shooting gold or silver, warm or cool, whatever the brand vibe is, you want to be able to add that richness and depth to the shot that brings the product to life. Mejuri uses high contrast and grain, while Missoma uses a rich warmth for that summery vibe, so consider which way you wanna lean into this. I edited so much jewellery content at the start of my career that I went from relying on VSCO, to creating my own edit recipe — which turned into my Golden Hour edit pack, that I still use today.
4. The Rule of 3:
Not to be confused with the rule of thirds, instead: capture each piece in 3 perspectives to really communicate the design to your viewer. Capture your piece:
On-body. The piece in action, instantly showing style and scale.
Flat lay. Another angle on the piece, but one that also starts to build vibe and story around the concept.
E-comm. White backdrop, high definition, showing every detail of the design. The spec, if you like.
This gives your audience a 360° look at the piece and can therefore fully understand the features and fit, figure out which piece is right for them, and ultimately convert (yay!).

Take these 3 images from a favourite archive shoot I did with Daisy London X Estée: on-model shows the style; the flat lay takes a closer look with some more vibe features (plus a stylistic POV that marries it to the model shot), and finally, the bare bones informative ecomm shot: together they give the customer everything they need to decide if its a no or a need.
Incorporate this approach into the shot list for your next shoot and see how much more value you get from the day.
👉 This is an excerpt of our free Content Confidence Kit for Creative Founders. Subscribe to The Content Clinic, an agony aunt newsletter, to get tips just like this and the full guide— delivered straight to your inbox.